A Guide to Quality Finish Carpentry and Trim Restoration
- vcraftsmanpa
- 2 days ago
- 4 min read
Finish carpentry and trim restoration are essential aspects of home improvement that can significantly enhance the aesthetic appeal and value of a property. Whether you are looking to restore the original charm of an older home or add a modern touch to a new build, understanding the nuances of quality finish carpentry is crucial. This guide will walk you through the key elements of finish carpentry and trim restoration, providing practical tips and insights to help you achieve stunning results.
Understanding Finish Carpentry
What is Finish Carpentry?
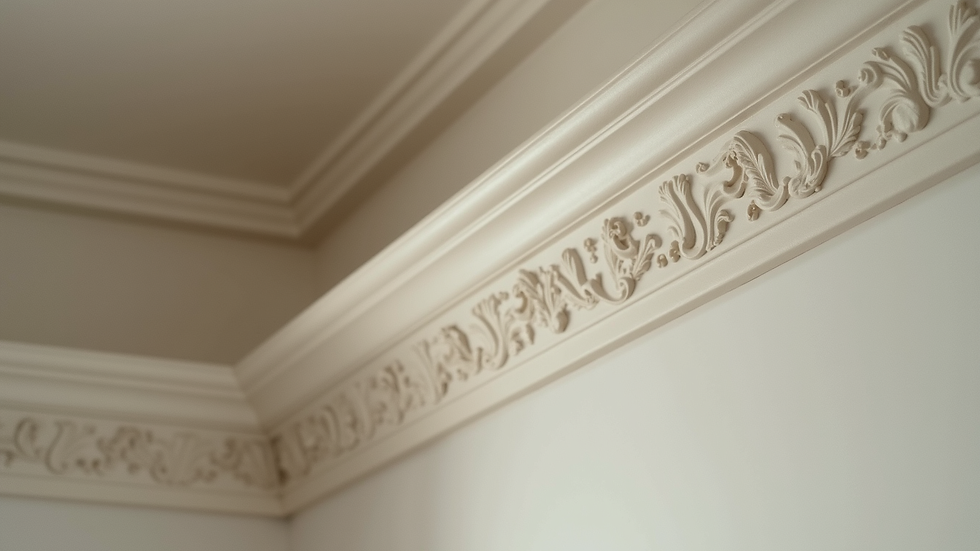
Finish carpentry refers to the final touches in woodworking that enhance the appearance of a building. This includes the installation of moldings, trim, doors, and cabinetry. Unlike rough carpentry, which focuses on structural elements, finish carpentry emphasizes aesthetics and detail.
Key Components of Finish Carpentry
Moldings: These are decorative strips of wood that cover the joints between surfaces. Common types include crown molding, baseboards, and chair rails.
Trim: Trim refers to the finishing touches around doors and windows. It can be simple or elaborate, depending on the desired style.
Cabinetry: Custom cabinets can add both functionality and beauty to a space. They can be designed to fit specific dimensions and styles.
Doors: Quality doors not only provide security but also contribute to the overall design of a room. Options range from solid wood to hollow-core doors.
Tools of the Trade
To achieve high-quality results in finish carpentry, you will need the right tools. Here are some essential tools for any finish carpenter:
Miter Saw: Perfect for making precise angled cuts for moldings and trim.
Nail Gun: Speeds up the installation process and ensures a clean finish.
Level: Ensures that all elements are perfectly aligned.
Tape Measure: Accurate measurements are crucial for a professional look.
Chisels: Useful for fine detailing and adjustments.
Trim Restoration: Breathing New Life into Old Trim
Why Restore Trim?
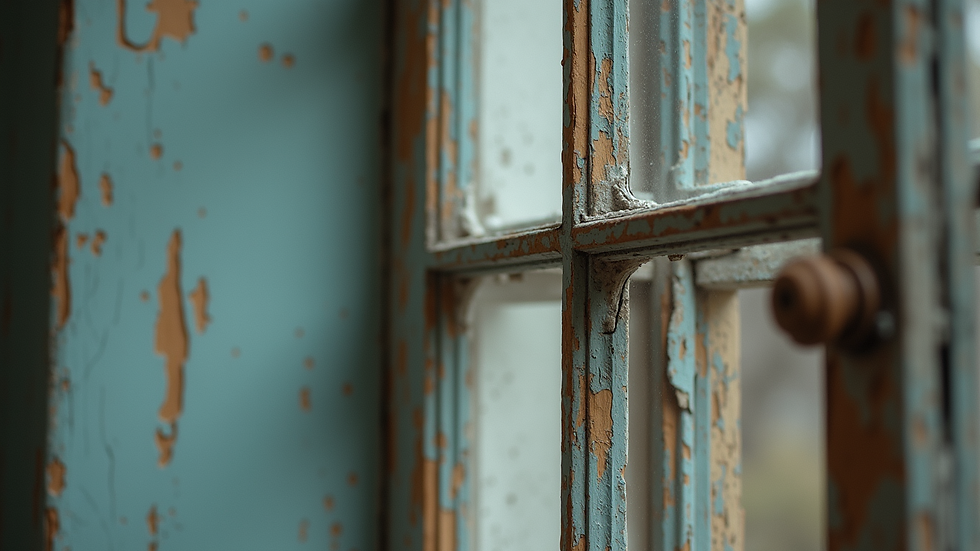
Restoring trim can revitalize a space, preserving its historical character while enhancing its functionality. Many older homes feature beautiful woodwork that can be brought back to life with careful restoration.
Assessing the Condition of Trim
Before starting the restoration process, assess the condition of the trim. Look for:
Damage: Check for cracks, chips, or rot.
Paint: Determine if the trim needs repainting or stripping.
Alignment: Ensure that all pieces are properly aligned and secure.
Restoration Techniques
Cleaning: Start by cleaning the trim with a gentle cleaner to remove dirt and grime.
Repairing: Fill in cracks and holes with wood filler. For larger repairs, consider replacing sections of trim.
Stripping: If the trim is painted, use a paint stripper to remove old paint. Be sure to follow safety guidelines and work in a well-ventilated area.
Sanding: Sand the trim to smooth out any rough spots and prepare it for finishing.
Finishing: Apply a stain or paint that complements the style of your home. Consider using a clear coat for added protection.
Choosing the Right Style for Your Home
Traditional vs. Modern Styles
When selecting trim and finish carpentry styles, consider the overall aesthetic of your home. Traditional homes often benefit from ornate moldings and detailed trim, while modern homes may favor clean lines and minimalistic designs.
Popular Trim Styles
Crown Molding: Adds elegance to any room and is often used in living rooms and dining areas.
Baseboards: Protects walls from damage and can be simple or decorative.
Wainscoting: A classic choice for dining rooms and hallways, adding texture and depth.
Custom vs. Pre-Fabricated Trim
While pre-fabricated trim is convenient and cost-effective, custom trim can provide a unique touch that reflects your personal style. Custom options allow for specific dimensions and designs that fit your home perfectly.
The Installation Process
Preparing for Installation
Before starting the installation, gather all necessary materials and tools. Ensure that the area is clean and free of obstacles.
Step-by-Step Installation Guide
Measure and Cut: Use a miter saw to cut trim pieces to the correct lengths. Always measure twice to avoid mistakes.
Dry Fit: Before nailing anything in place, dry fit the pieces to ensure they fit correctly.
Secure the Trim: Use a nail gun to attach the trim to the wall. Start from one end and work your way to the other.
Fill Gaps: After installation, fill any gaps or nail holes with wood filler for a seamless look.
Finish: Once everything is installed, sand any rough edges and apply paint or stain as desired.
Maintenance Tips for Longevity
Regular Cleaning
To keep your trim looking its best, regular cleaning is essential. Dust and wipe down surfaces with a damp cloth to prevent buildup.
Inspect for Damage
Periodically check for signs of wear and tear. Address any issues promptly to avoid more extensive repairs down the line.
Refinish as Needed
Depending on the type of finish used, you may need to refinish your trim every few years. This can involve sanding and reapplying paint or stain.
Conclusion
Quality finish carpentry and trim restoration can transform your home, adding beauty and value. By understanding the components of finish carpentry, choosing the right style, and following proper installation techniques, you can achieve stunning results. Remember to maintain your trim regularly to ensure its longevity. Whether you are a DIY enthusiast or planning to hire a professional, this guide serves as a valuable resource for your finish carpentry and trim restoration projects. Embrace the beauty of your space and let your creativity shine through!

Comments